Top Balance
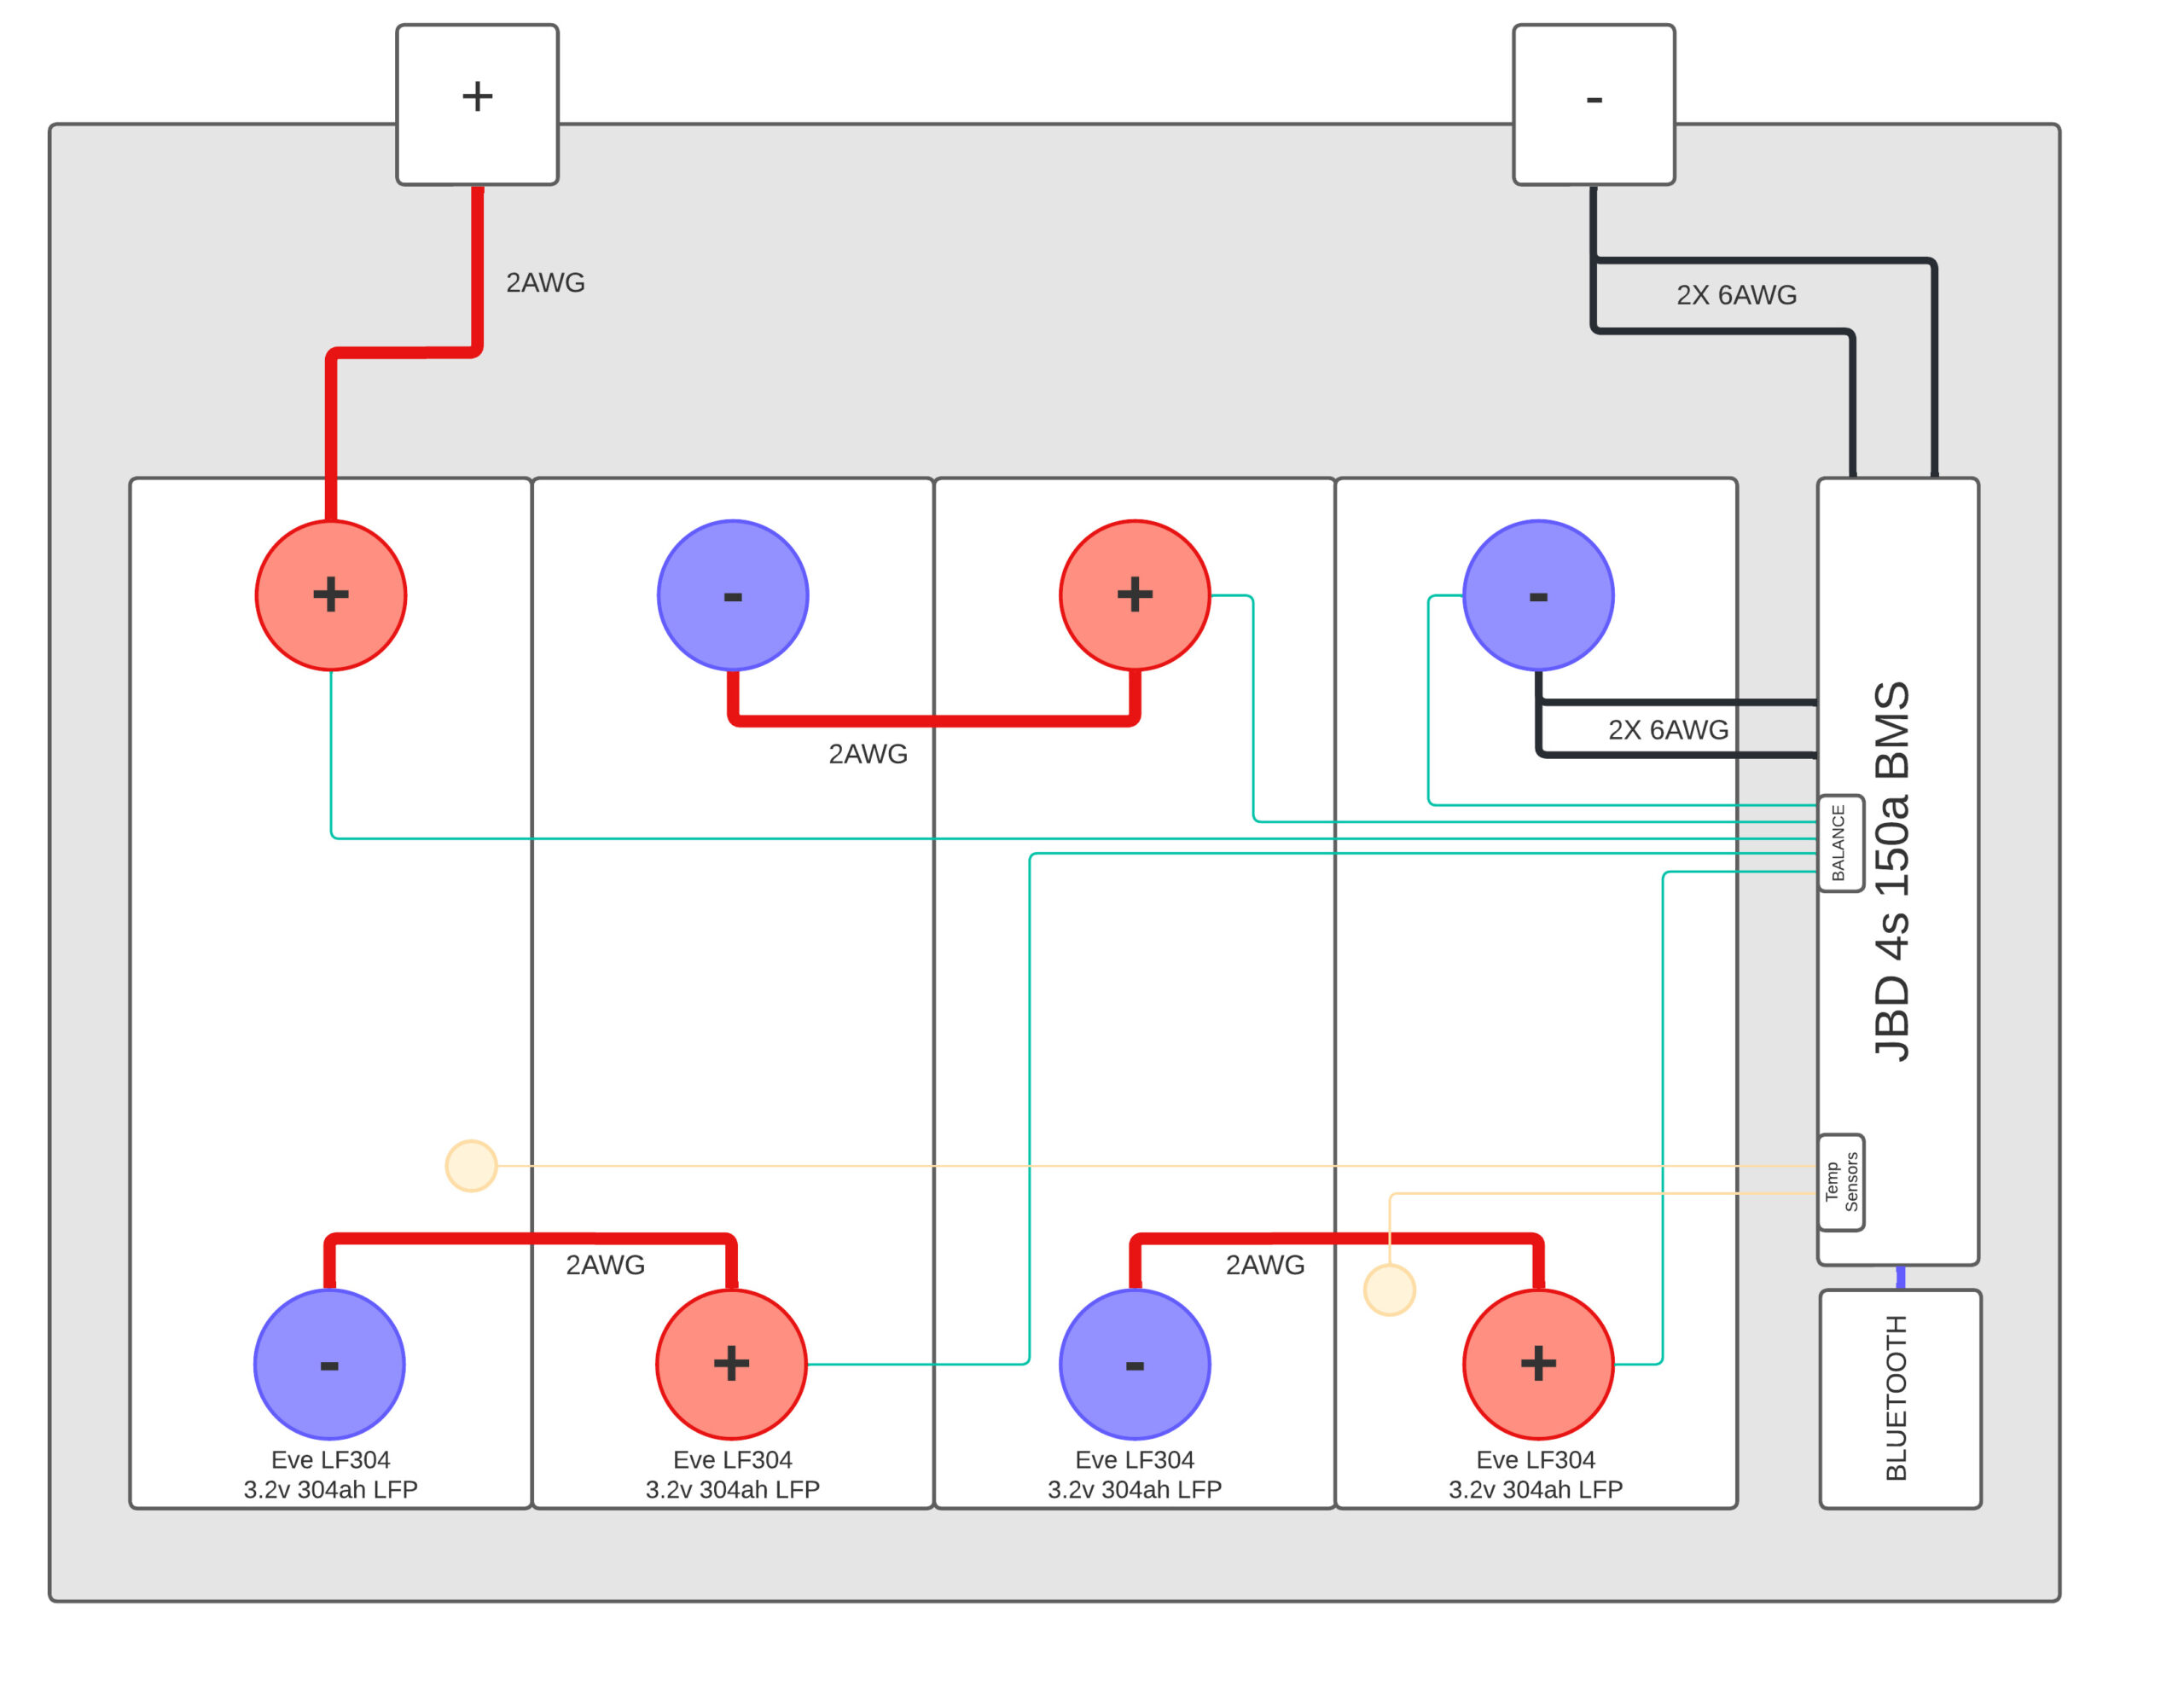
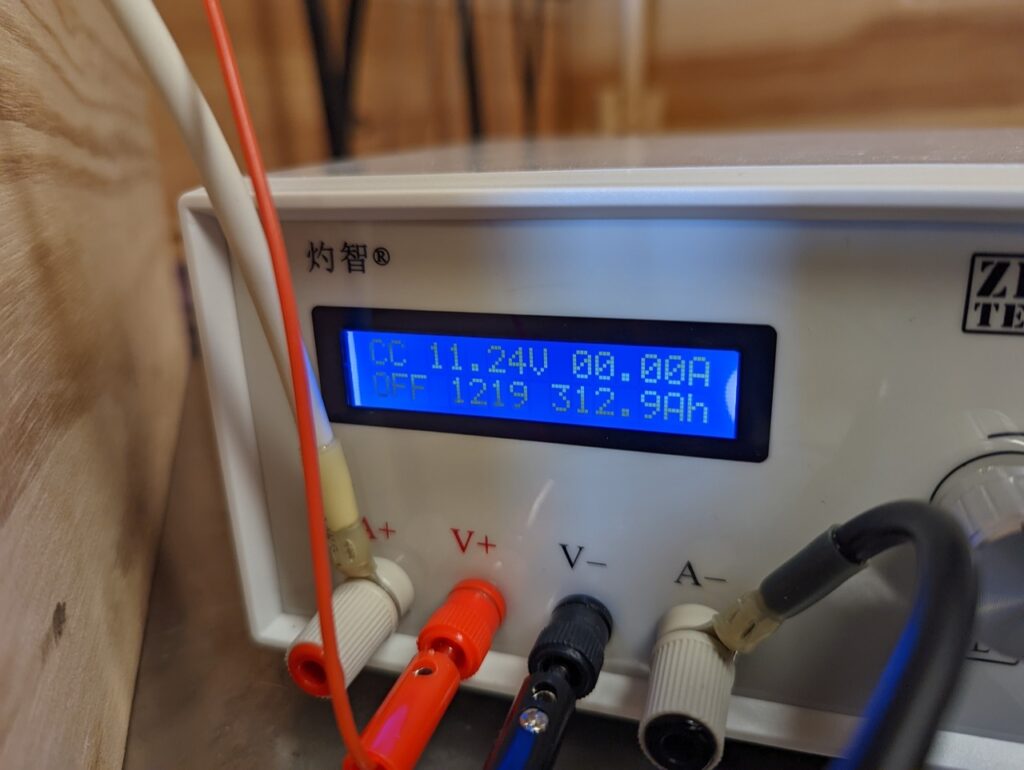
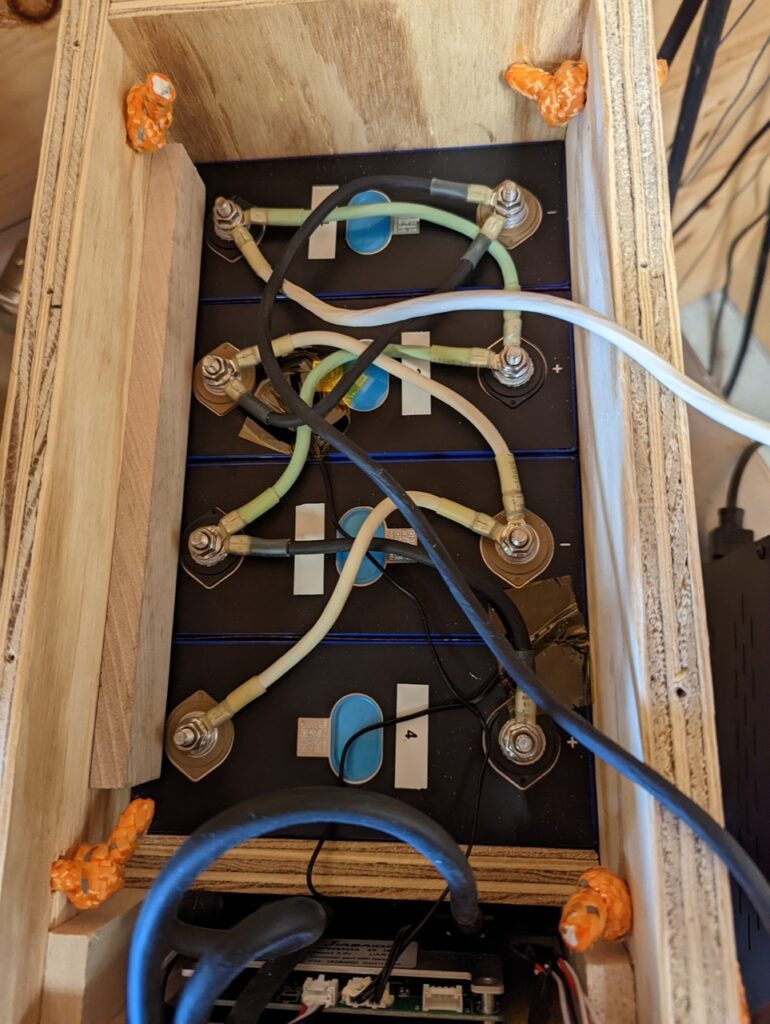
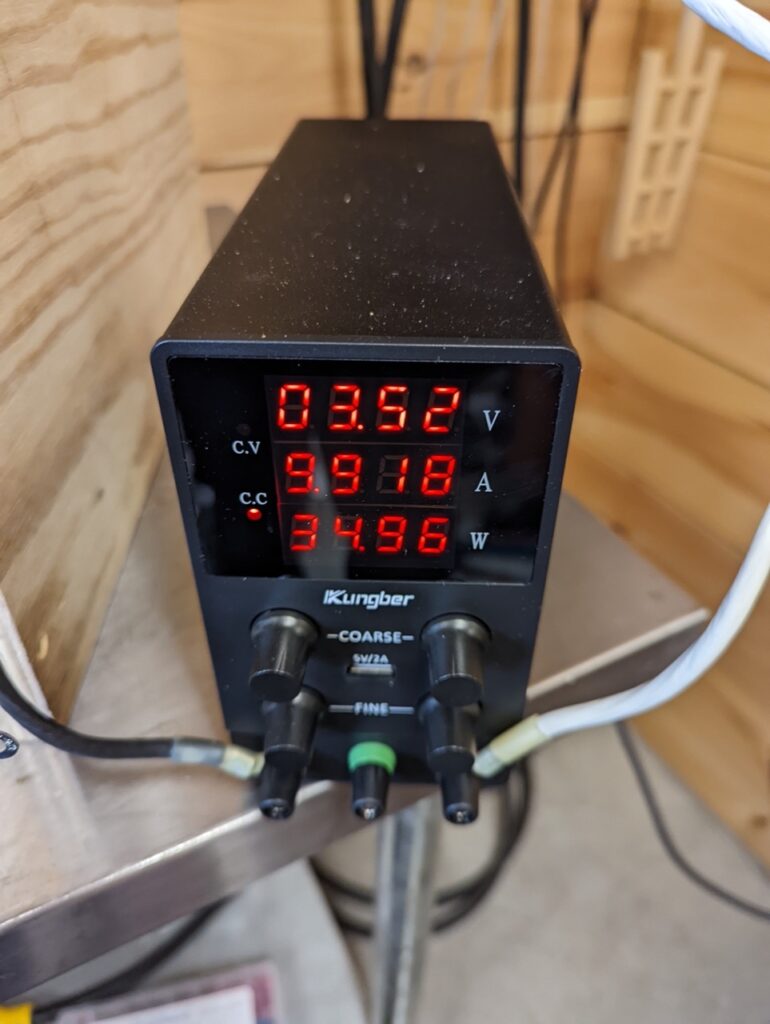
To prep the cells to be combined into a battery I will need to top balance them. This involves connecting all the cells in parallel and fulling charging them so they start all evenly charged. My bench top power supply is an inexpensive one rated at 10A max. To speed up the process I built the 12v packs with BMS and did a initial charge until one of the cells reached 3.65v and it cut off. I then rewired the cells in parallel and set the bench top power supply to 3.65v and waited for the amperage to drop to less then 1 amp. After the top balance I reassembled the pack into a 12v battery with BMS. I then used a capacity tester to run the pack down to 11v (2.75v/cell). I was able to pull 312.9Ah out of the first battery, which I am more then happy with. I could have probably got another few amp/hr out of the pack if I ran it all the way down to 10v (2.5v/cell). The goal will be to run the pack between 12v (3v/cell) to 14v (3.5v/cell) in normal use which will provide 304+Ah.
Enclosure (Battery Box)
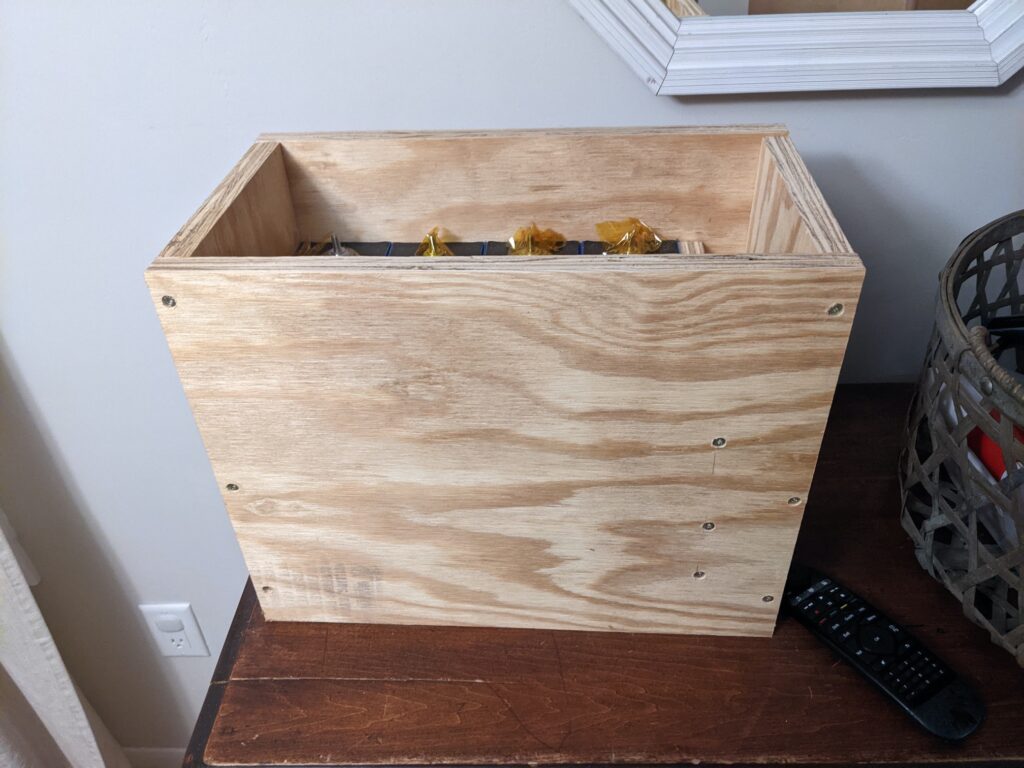
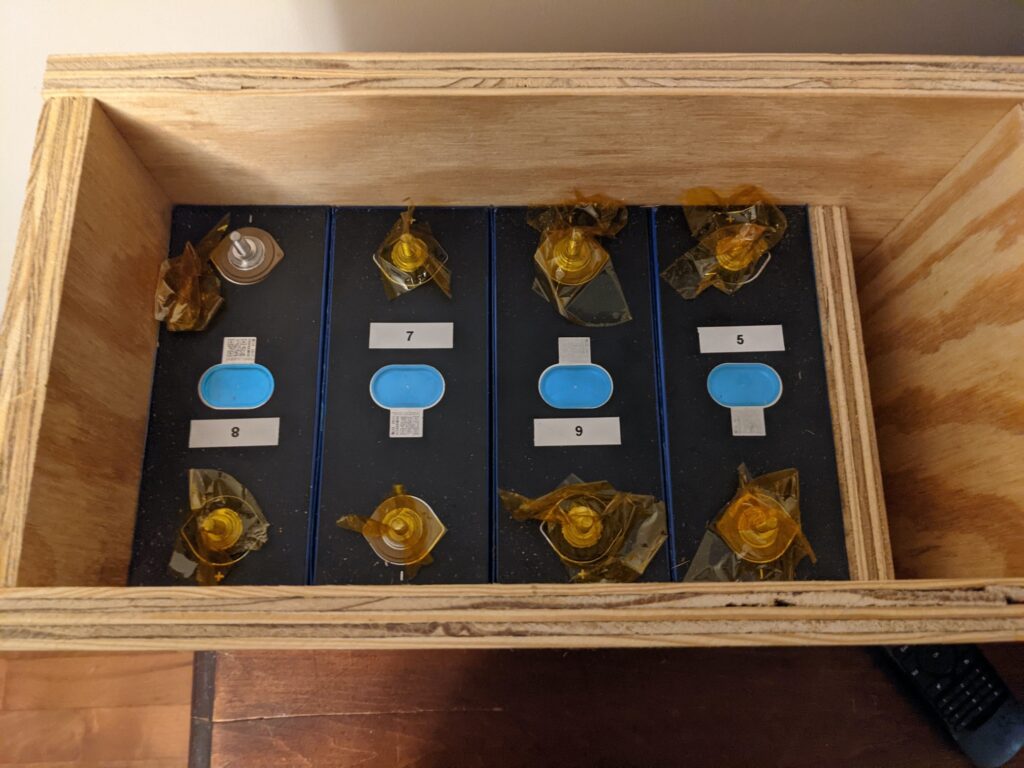
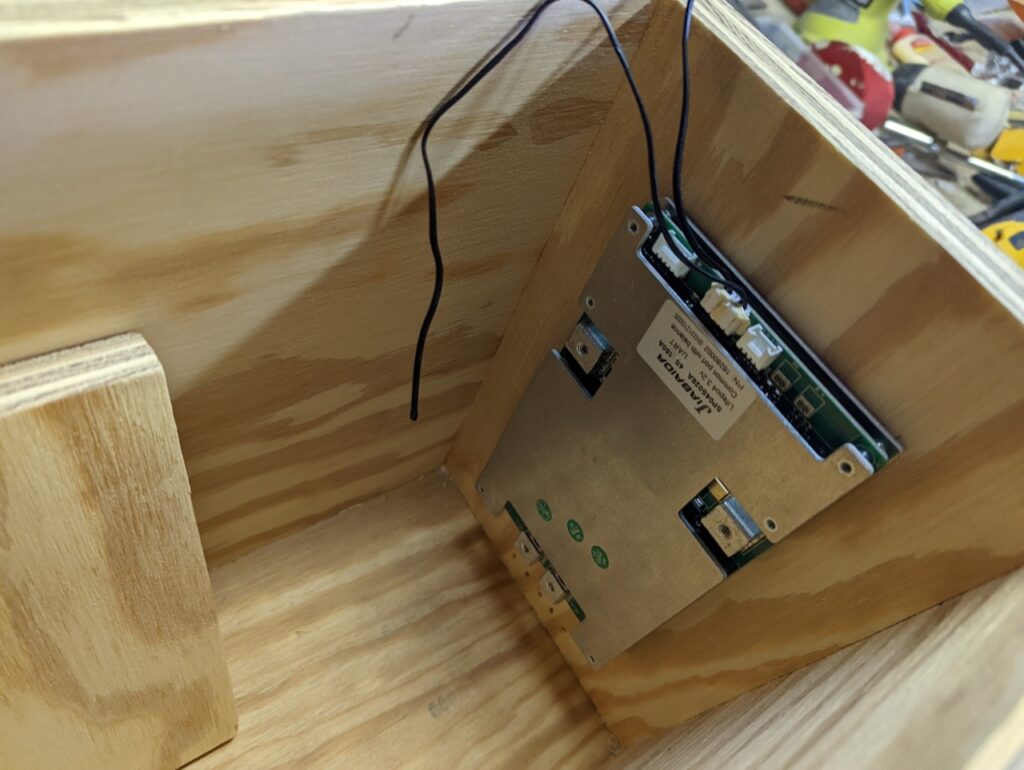
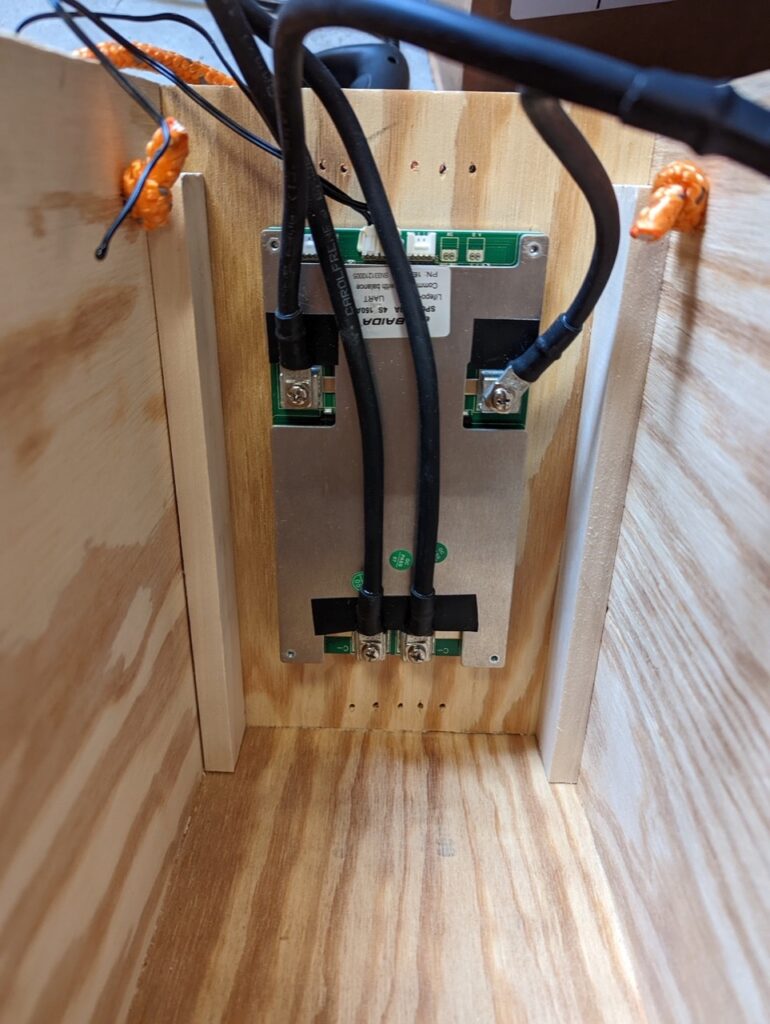
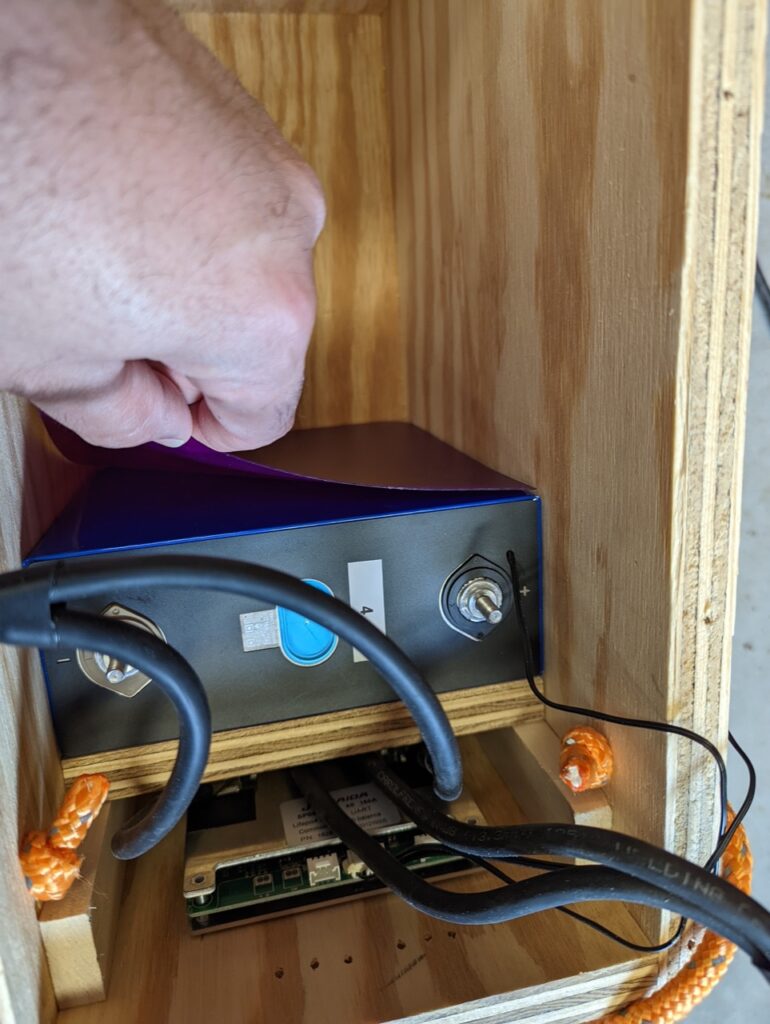
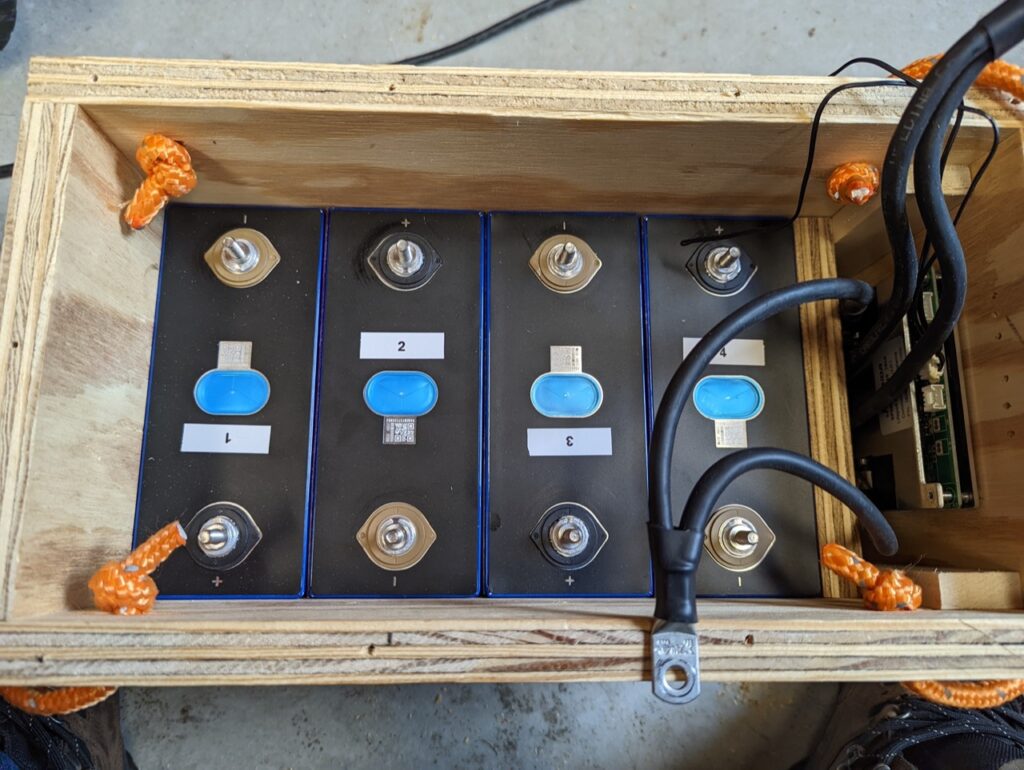
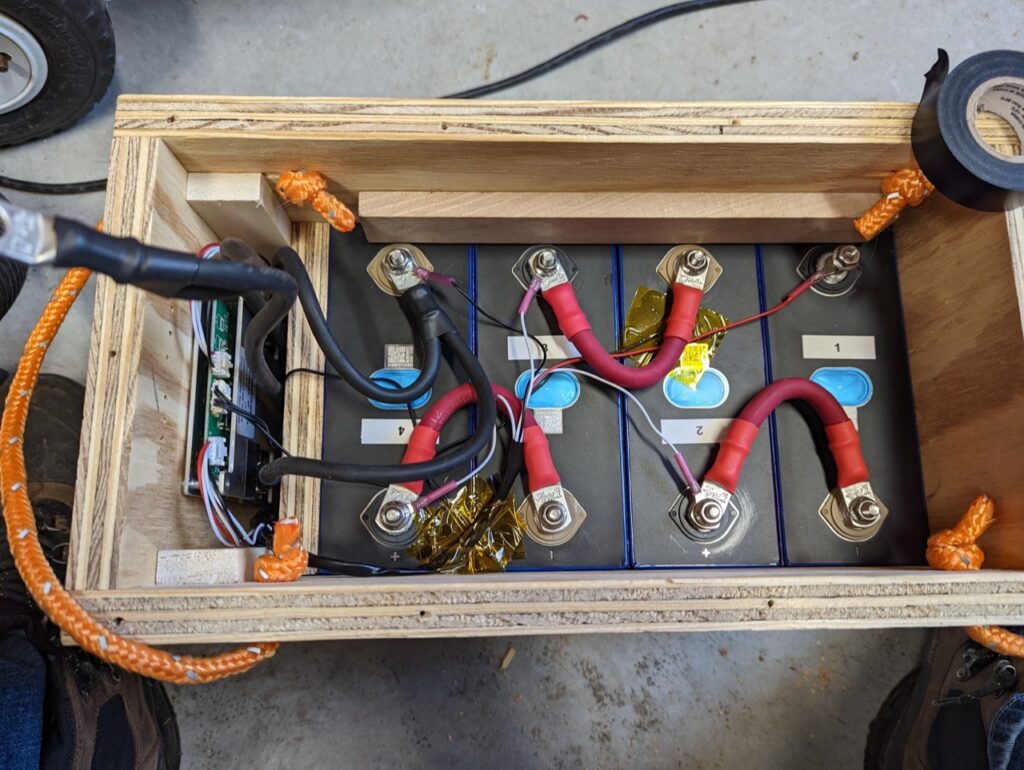
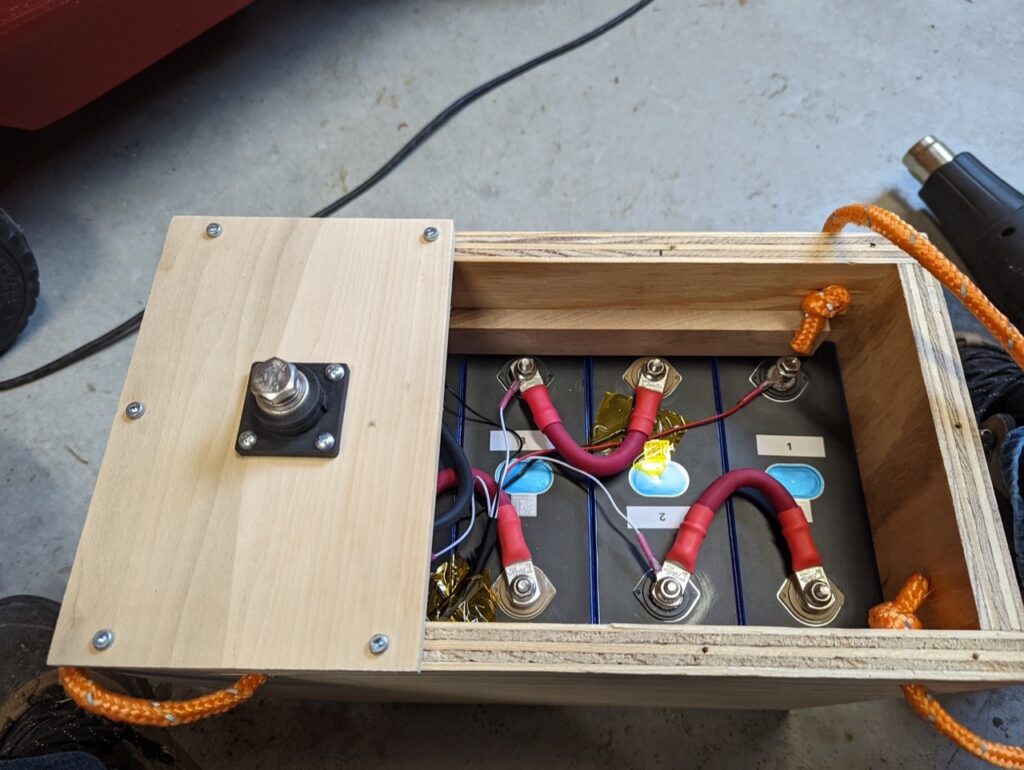
I am using 3/4 plywood to create my box/enclosure for the cells and BMS.
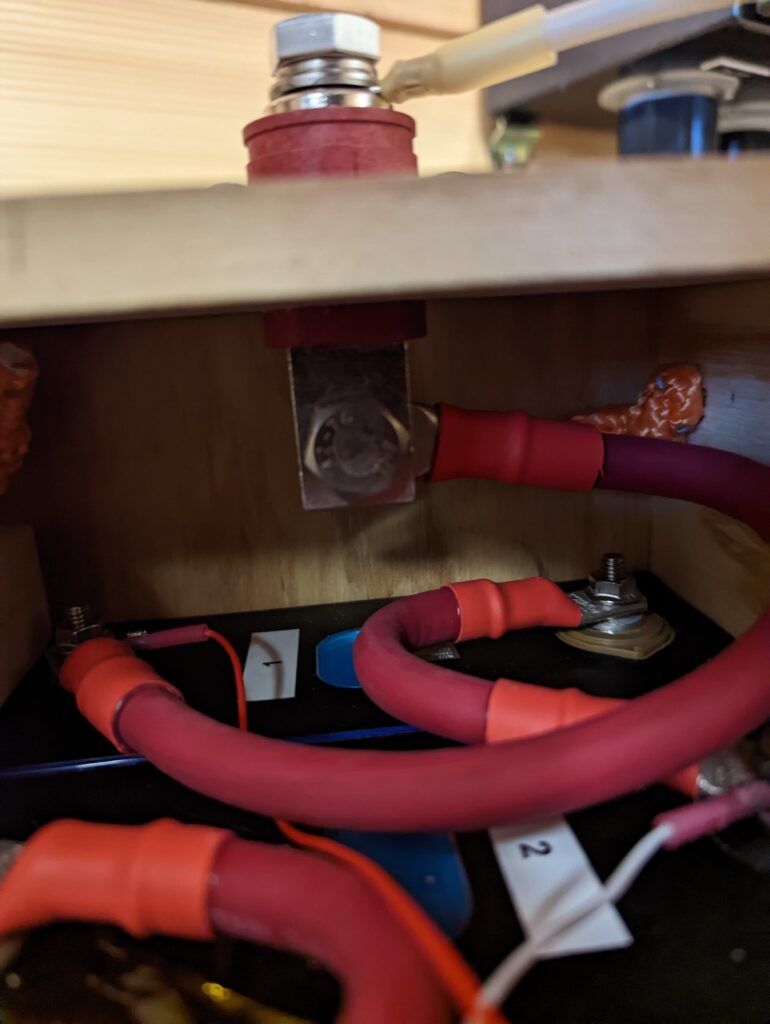
Battery Managment System (BMS)
The BMS I am using is from Jiabaida (JBD) and has a Bluetooth module which works with an app called xiaoxiang. Below are some screen shots during the initial change, top balance, and capacity test of battery 1.
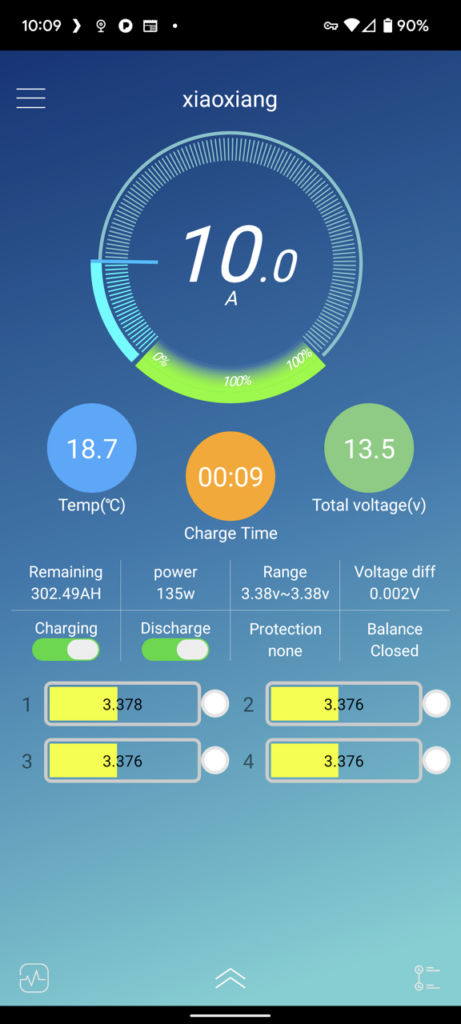
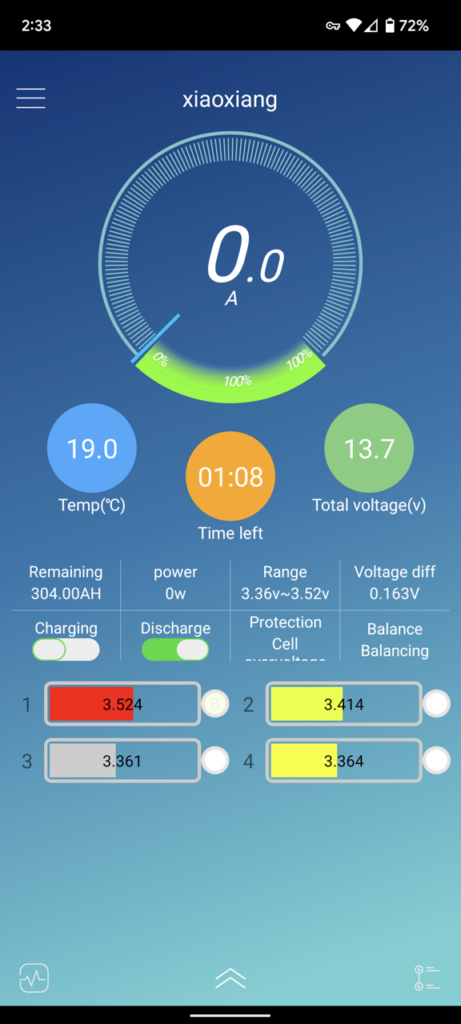
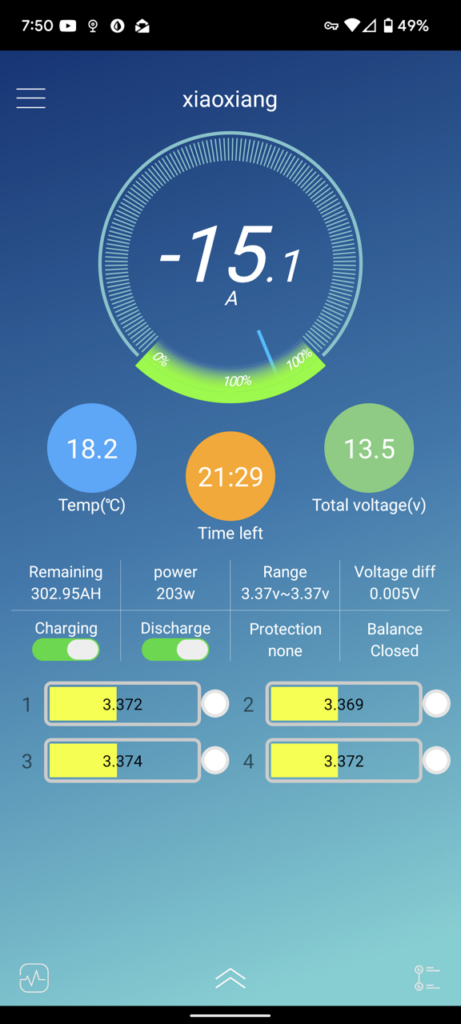
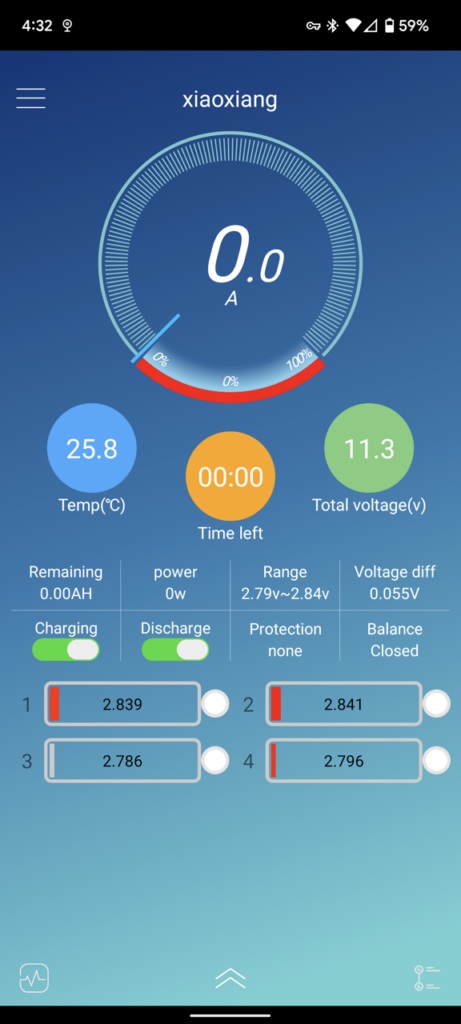
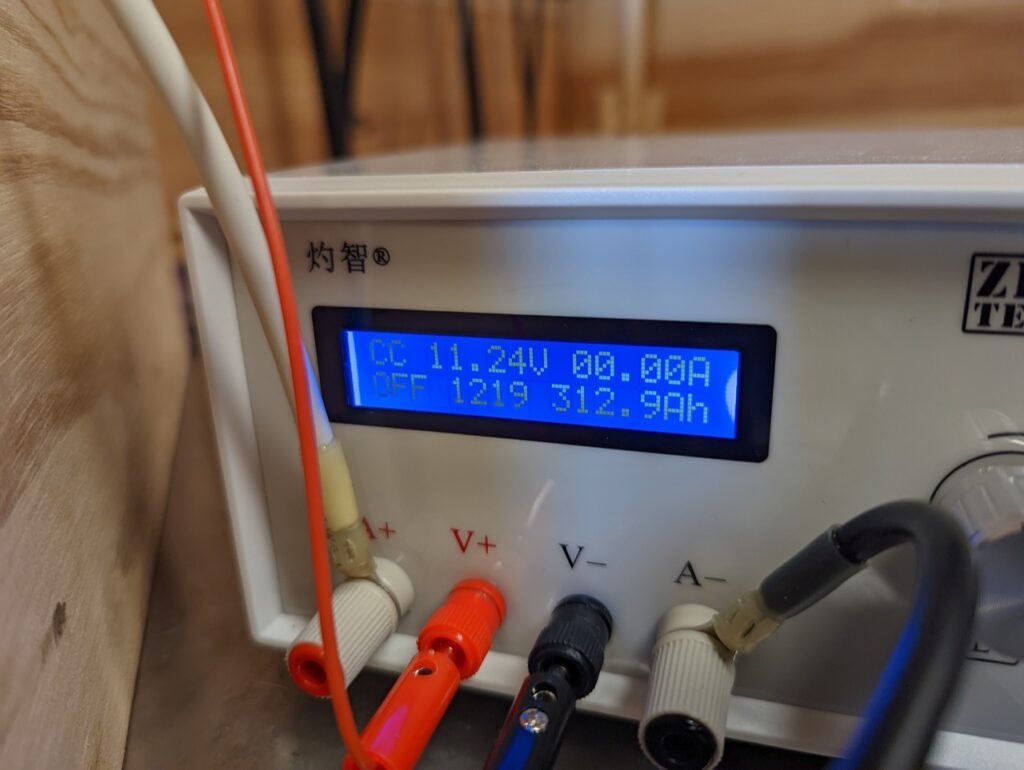
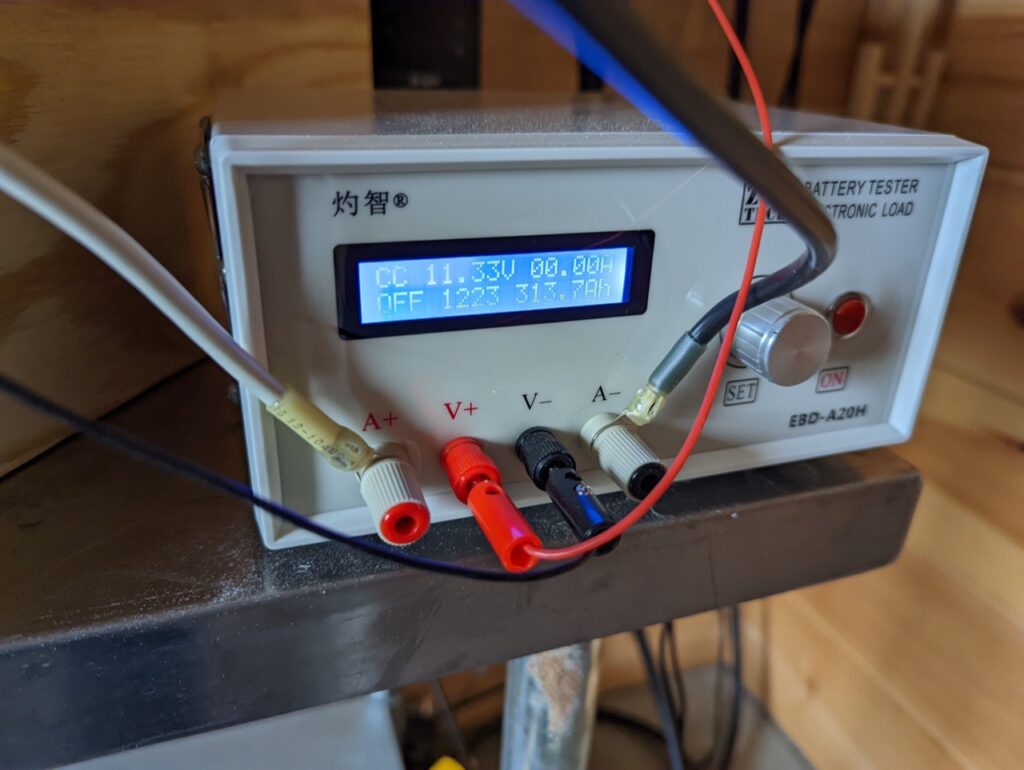
It is not good to leave the cells at a very high or very low state of charge for a long period of time so I charged the pack back up to about 50% capacity. I will now install the batteries, build the enclosure and finish the DC wiring.
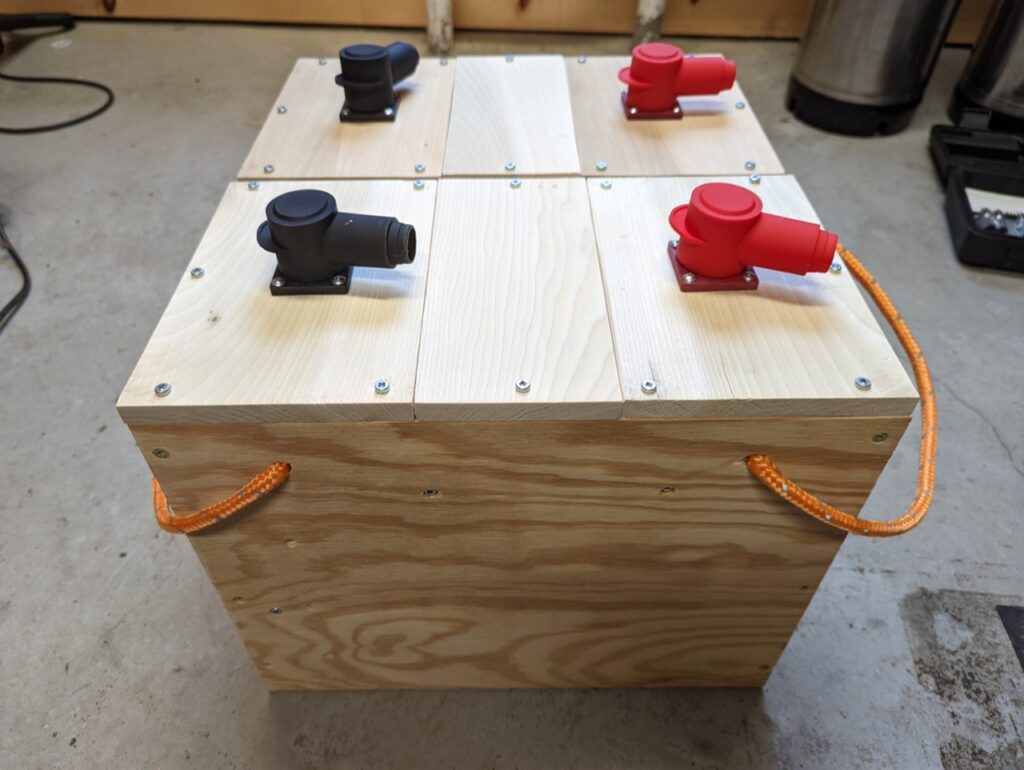
Both finished batteries take up a total of 17″ x 15″ x 12.5″. This is less space per amp hour then off the shelf batteries. It’s about 33% denser then a 100Ah or GC3.0 from Battle Born and 13% denser then a popular prismatic cell based battery the SOK206.
