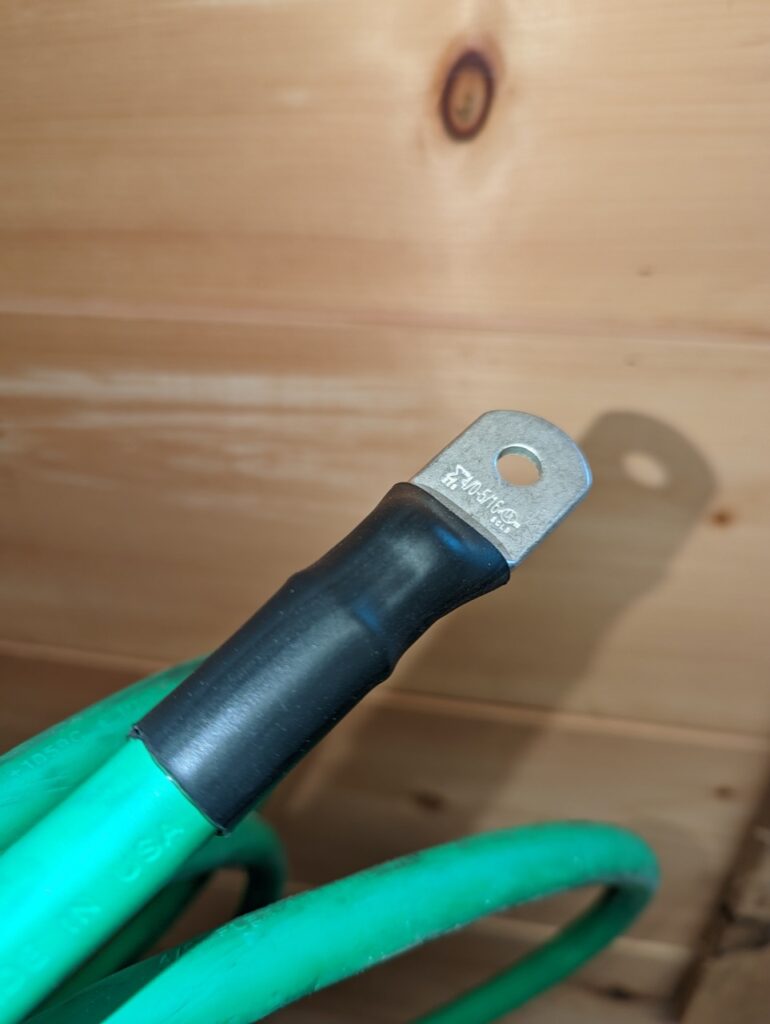
It is not he most glamorous component but you will need a bunch of wire. Not just any wire but the right wire. The price of wiring has noticeably jumped though the pandemic, my costs were over $500. There is a huge amount of different wire available. I am using mostly fine stranded copper welding cable which is very flexible. On the roof for the solar panels I used a solar photovoltaic/use-2 wire that is specifically meant to handle the sun/uv-rays and has a very thick jacket. To run AC and DC to and from my RV distribution center I used multi conductor SOOW cord. SOOW cord is what a RV uses for the exterior power cable. I ordered most of my wire from www.wireandcableyourway.com. You will also need lots of cable lugs, heat shrink, and crimping tools to assemble all the cables necessary.
- 600V SOOW Flexible Portable Cord
- A/C power to the inverter = 10/3 (30a)
- A/C power from the inverter = 6/3 (50a)
- D/C power to distribution panel = 6/2 (50a)
- Welding Cable
- 4/0awg – Battery and Inverter connections
- 2awg – Solar charge controller to bus bars
- 6awg – To solar charge controller, AC change over switch, DC breaker and panel connections
- Solar Photovoltaic Wire
- 10awg – Solar panels (fine for + and -, and coarse for ground)
Lugs
I ordered my lugs from https://www.batterycablesusa.com/copper-lugs-terminals they were good quality tin plated solid copper lugs.
Ferrules
I used ferrules for some parts of the install. They are not as popular in the US vs Europe but they do make working with the fine stranded wire a lot easier and leave a cleaner looking install.
Crimp tools
You will need tools to make solid connections. I used a cheap hydraulic crimper for large connections. I had a ferrule crimping tool and a crimper with multiple jaws to crimp the rest of the connectors.
Heat Shrink
I used dual wall adhesive lined heat shrink from the same vendor as the lugs.
Cable clamps/management
I used a bunch of different sized rubber insulated metal clamps for securing the larger cables.


