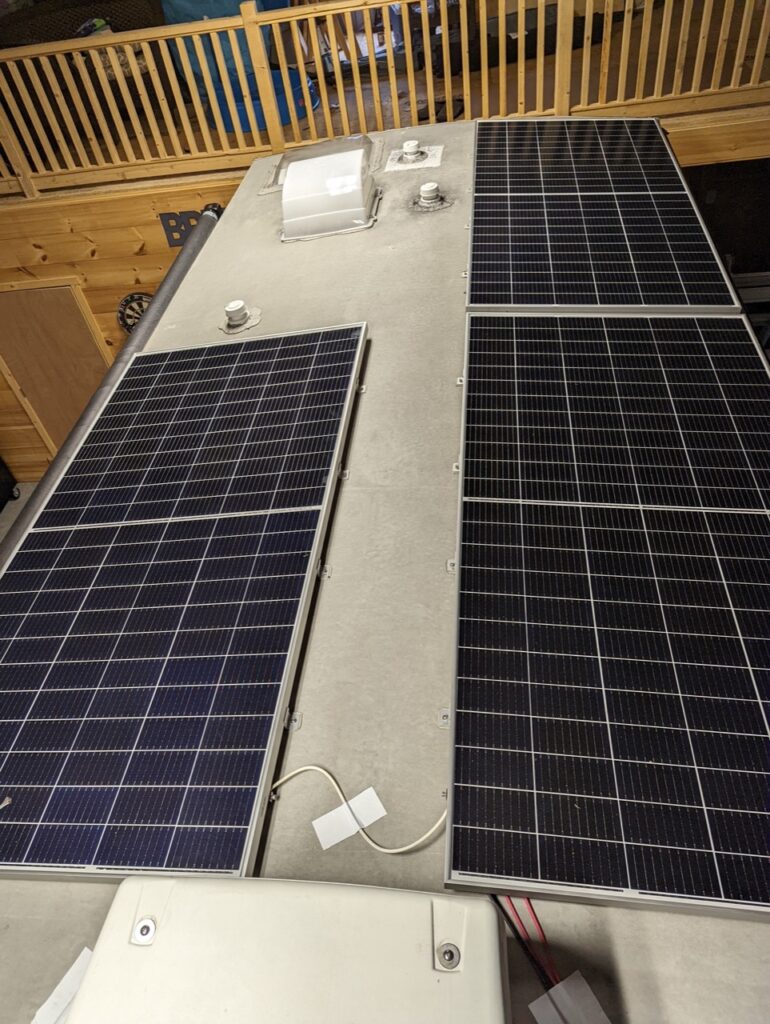
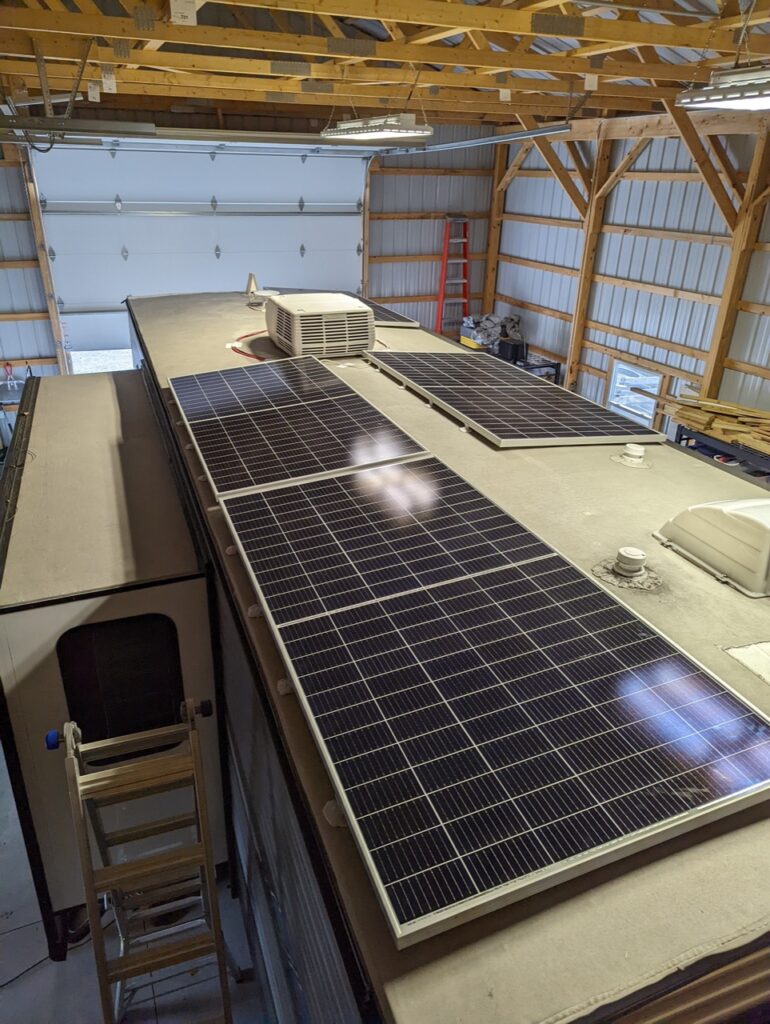
I struggled with the choice to use z-brackets or a option that would allow panels to be easily removed like strut channel. Due to how I want to mount the panels and the size of them I decided to go with z-brackets. I chose a smaller bracket but will use double the amount (8x) per panel.
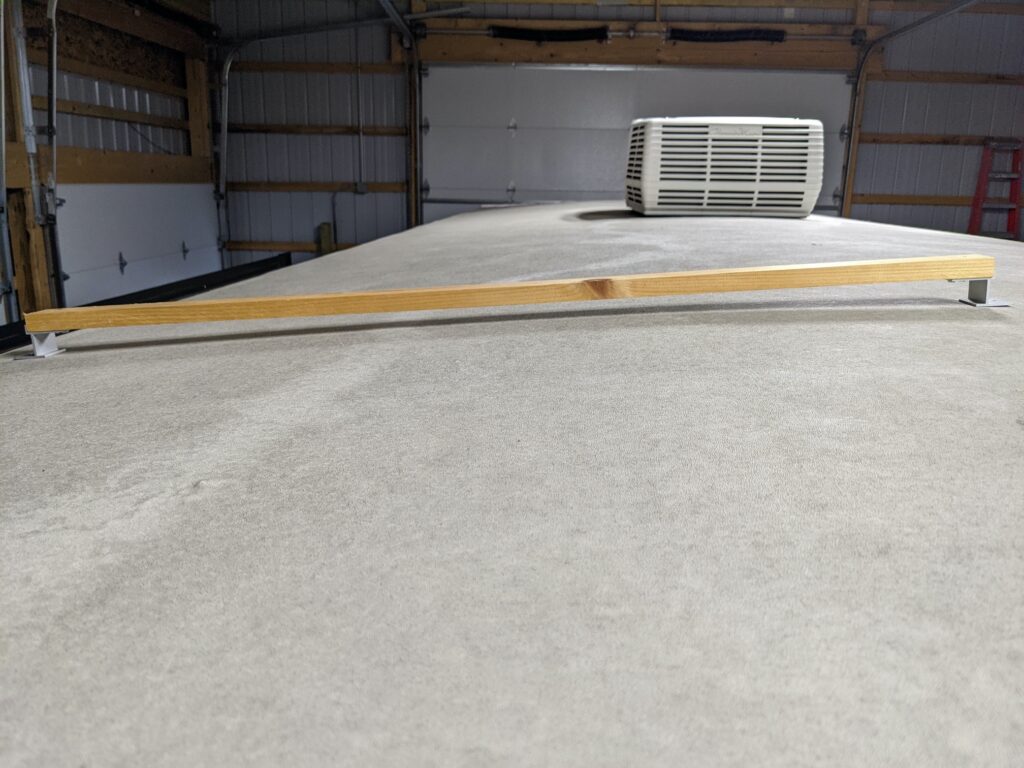
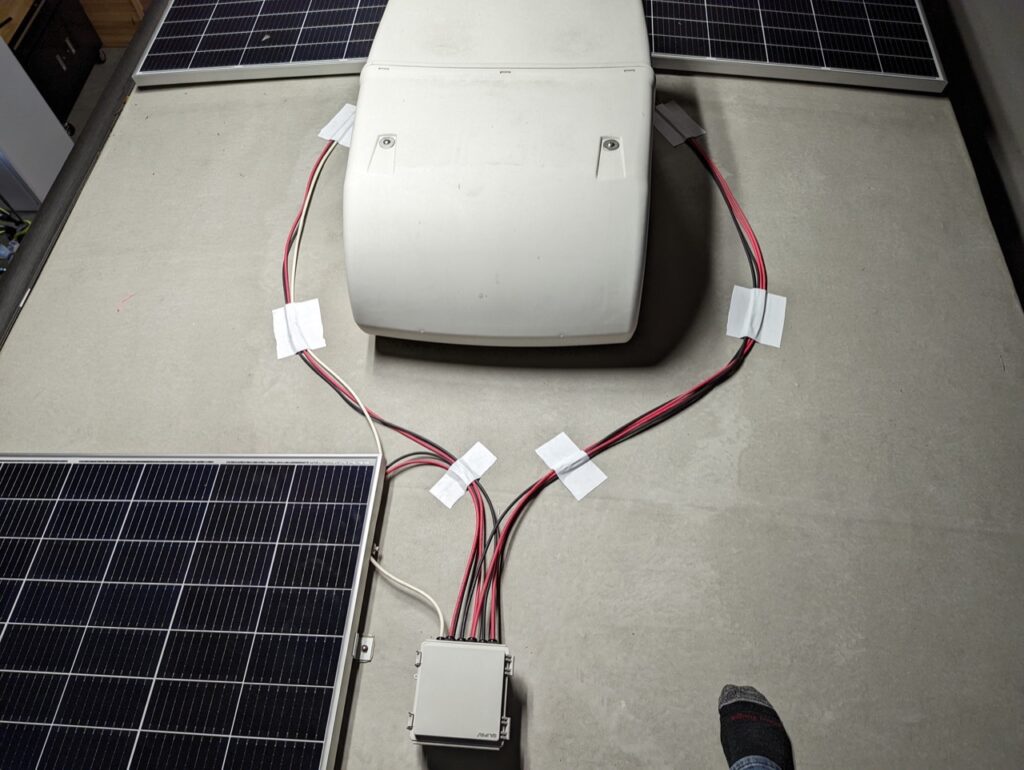
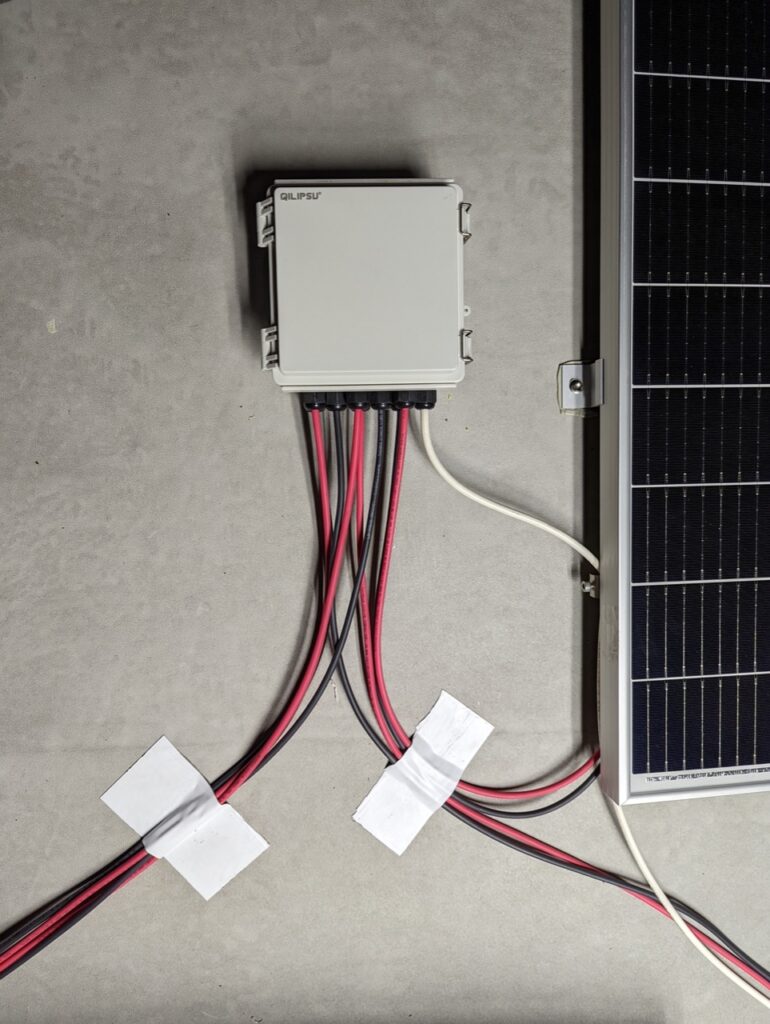
There is some curve to the roof so I made a quick template from a piece of wood to check how much bend was needed and tweaked them some as needed. My roof is thankfully decently thick plywood and walk-able even through it did not have a ladder. I tried to catch a rafter with at least one set of mounts per panel. I used some stainless clips to organize cables under the panels.