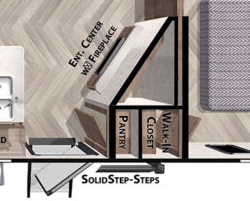
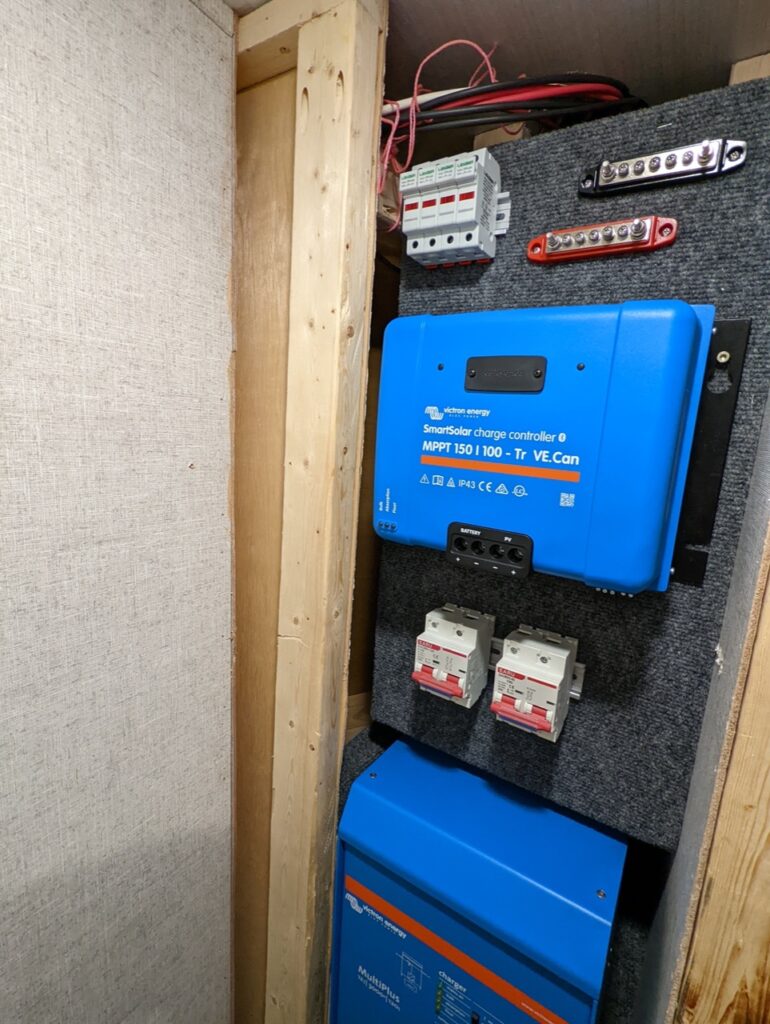
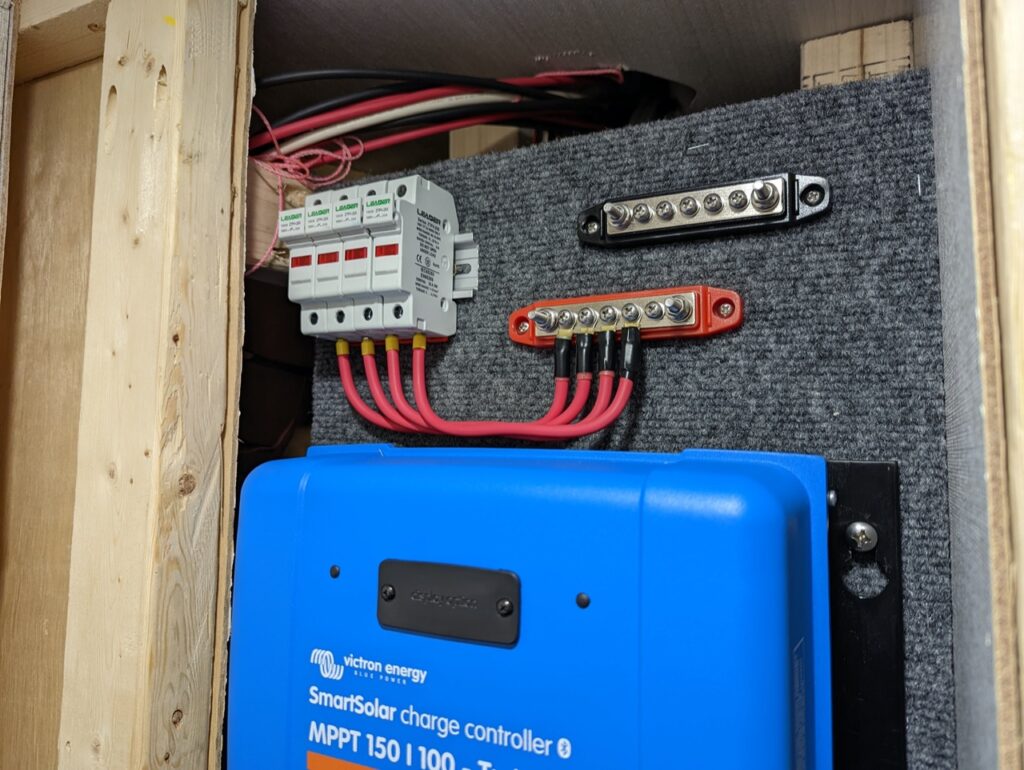
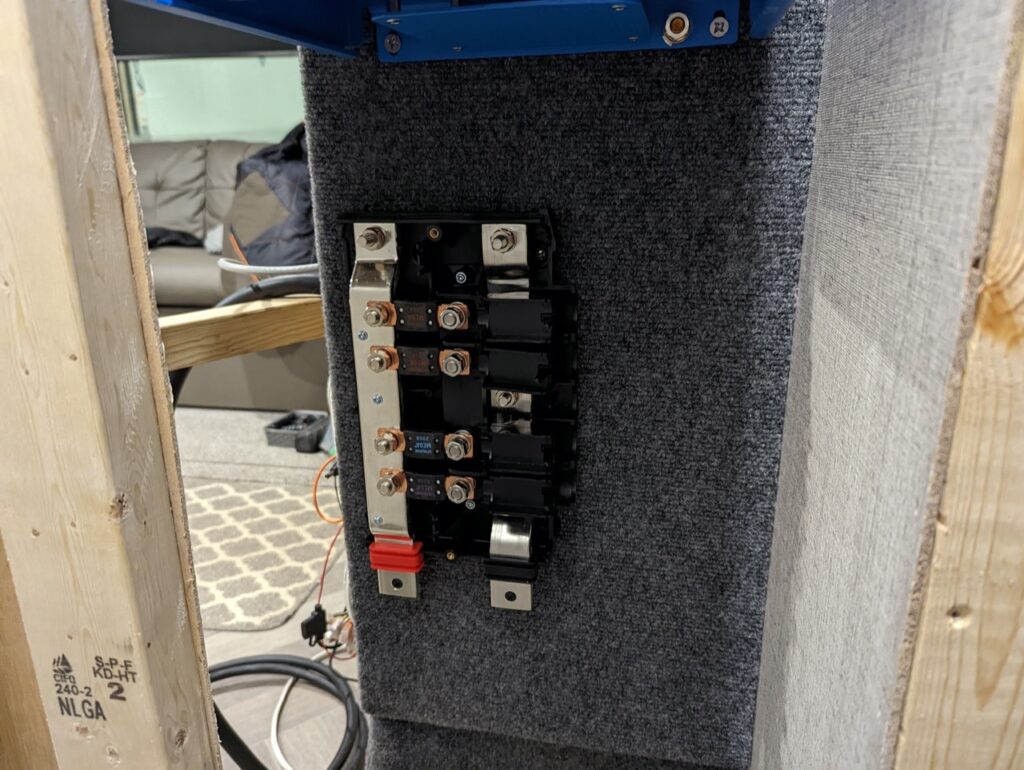
My goal was to impact the usable space in the camper as little as possible. I also wanted the install to be out of sight. The floor plan of our RV has some dead space located behind the fireplace it is just enough to fit the major components of the system. The batteries will be placed at the bottom of the bedroom closet to allow for easy install and removal.
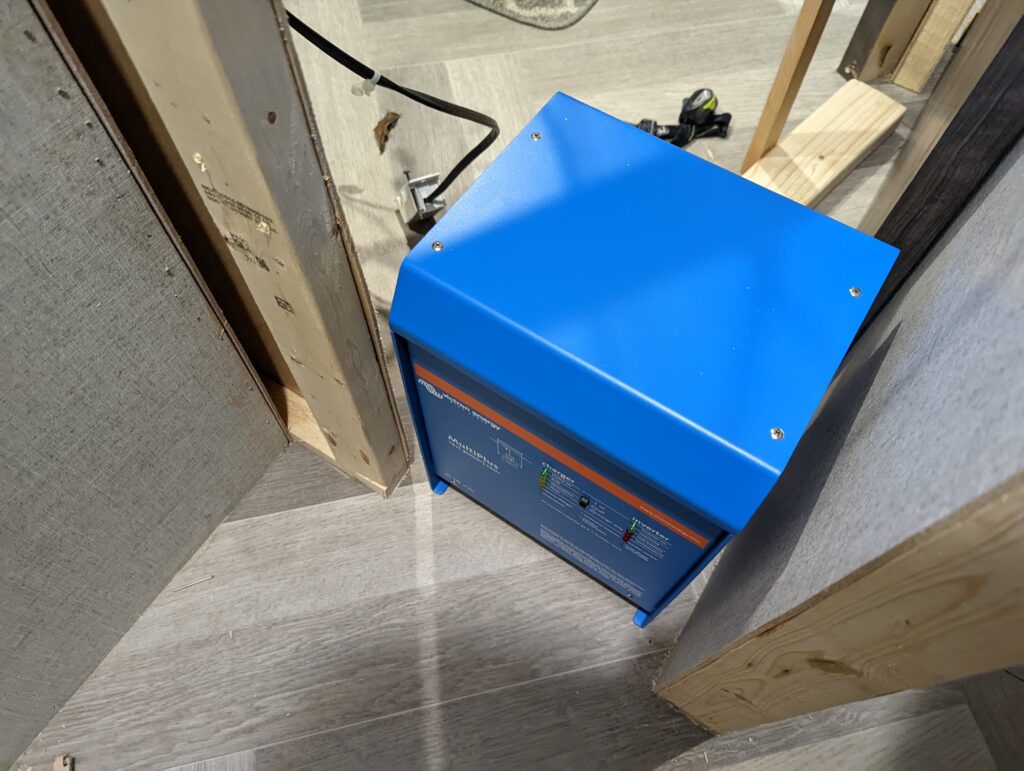
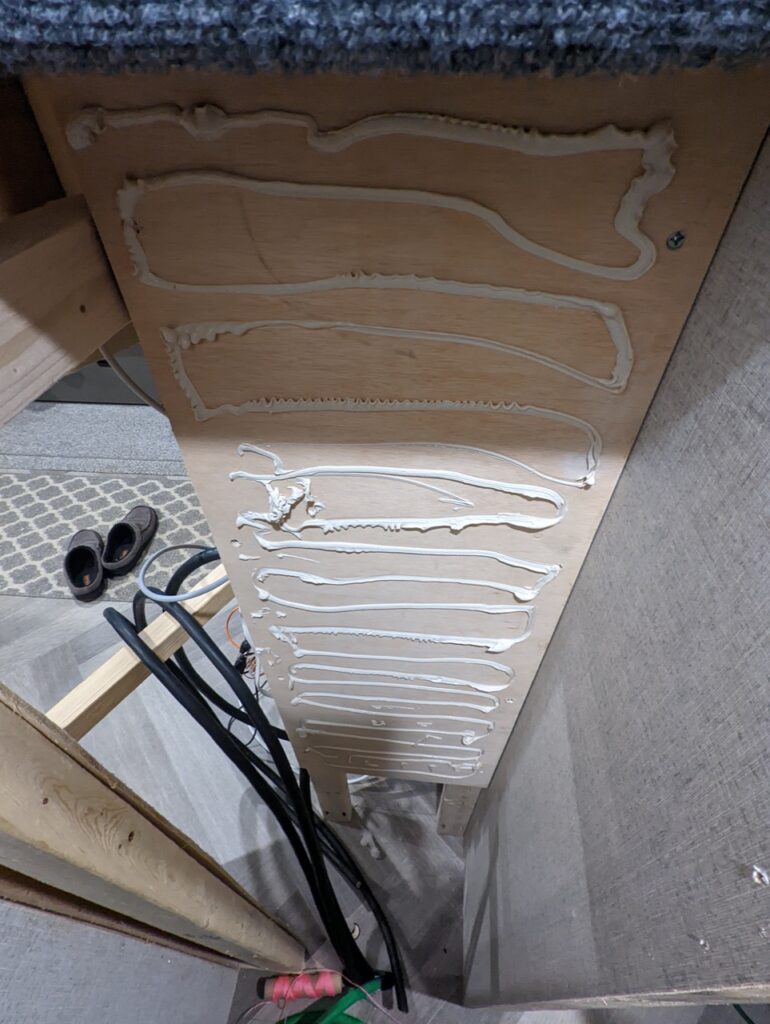
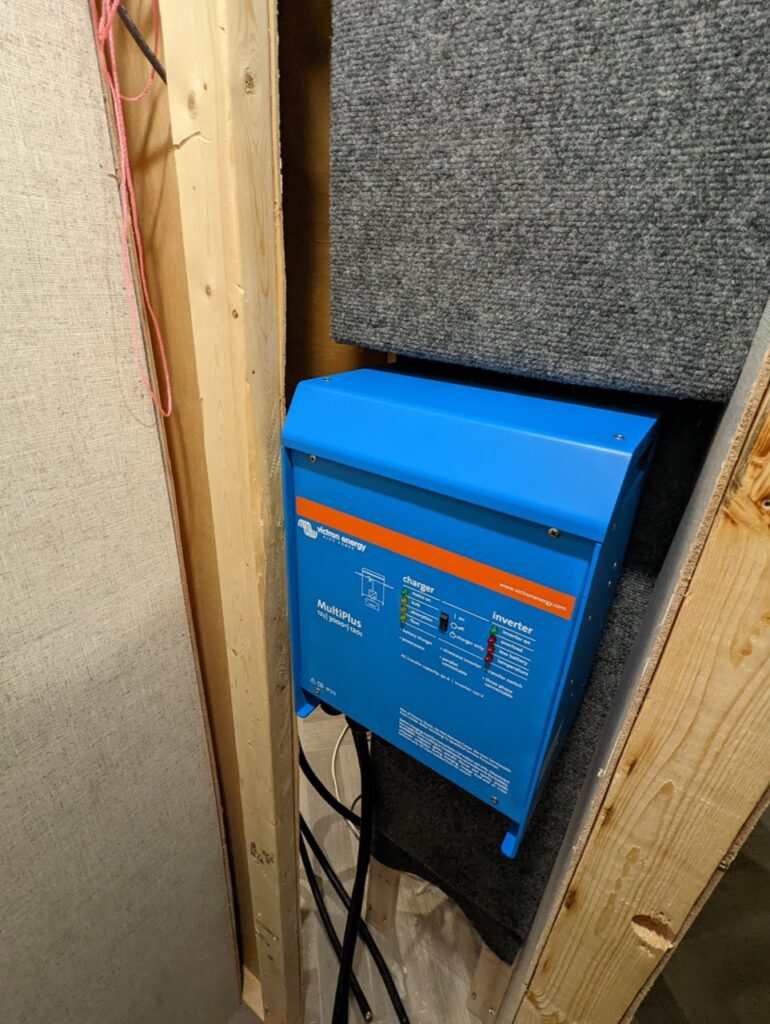
The first step is to hack up your RV with a crowbar and oscillating tool. After removing the fire place I cut and removed a bunch of luan and relocated some of the studs. My RV like most uses 2×3 studs. Since the inverter is a lot deeper then the MPPT controller I made a two tiered mounting board. I then covered the new mounting fixture with a thin commercial carpet material to give a nicer look.


To be continued…